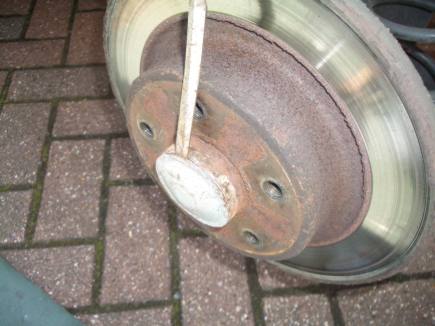
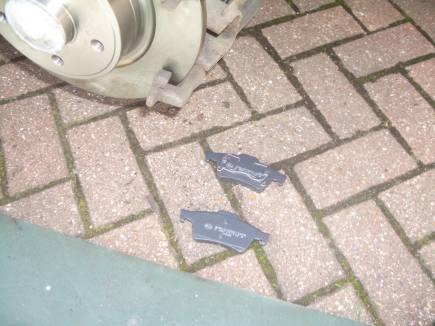
One must change their Rear brake pads before they run out of braking material and scrap bare metal on to the discs.
So if you forgot and now have to change the discs here is how I did it and it may help you too.
First of all CHOCK the front wheels as you are working on the rear end of the car once chocked release the hand brake and check the car is not free to move.
|
I bought the discs and brake pads from Ebay for £84.99
LAGUNA MK2 2001-2006 REAR BRAKE DISC BEARINGS ABS RING BRAKE PADS is the description of them, use it to find others.
|
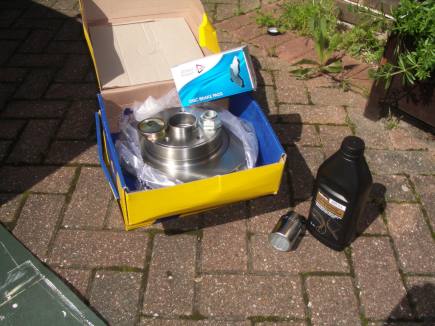 |
You may just notice I also bought Brake Fluid and a 36mm Socket.
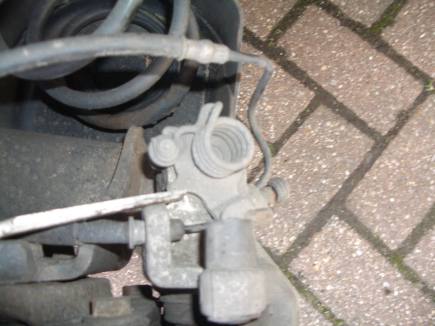
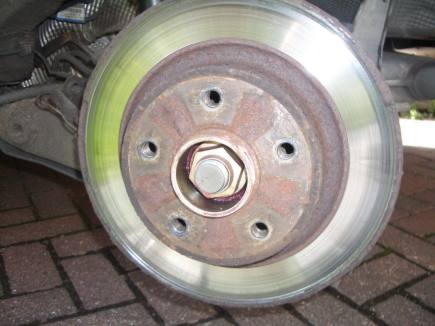
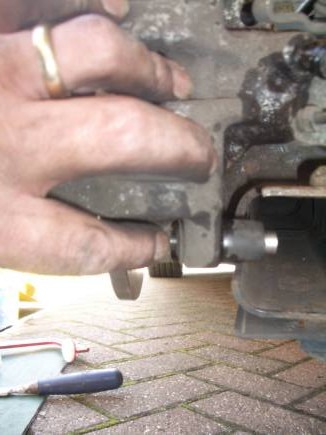
Once you have removed the road tyres you’re ready to start the strip down to get at the disc, the first thing we must do is remove the brake unit from the axil.
|
Start by disengaging the handbrake cable from the Tension arm on top of the brake unit.
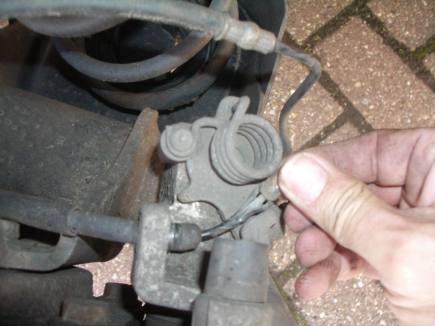
Tip:make sure you released the handbrake, it makes thing a
whole lot easier. |
 |
|
Use a flat blade screwdriver to tension the handbrake arm, with a set of pliers pull the cable to the back end of the brake unit until you can unhook the cable from the brake unit.
|
 |
|
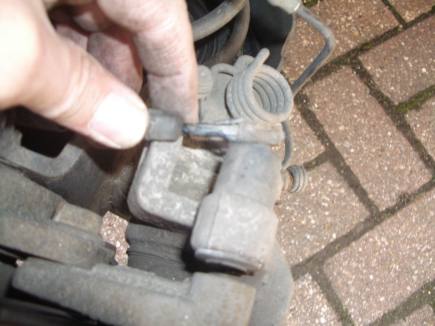
Using pliers again remove the whole cable from the brake unit and store to one side. |
 |
Now remove the dust caps from the top and bottom of the brake unit |
 |
|
Top Dust cap
|
 |
|
Bottom dust cap |
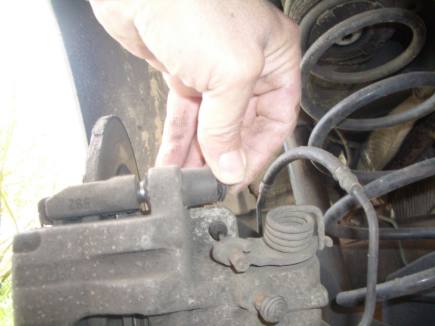
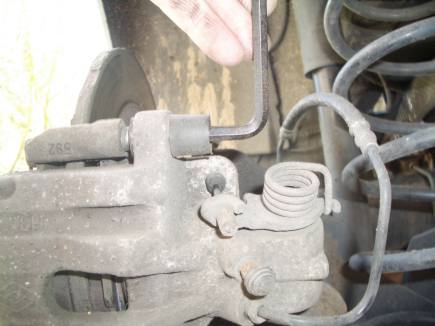
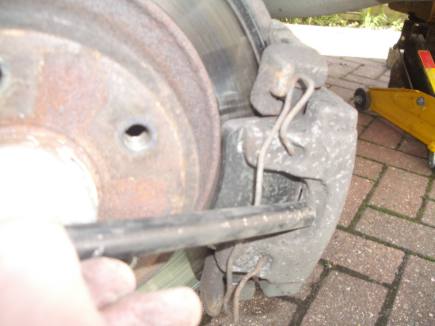
Now remove the Allen keyed bolts from the top and bottom of the brake unit
using a 7mm allen key.
Thanks Kyle for prompting for the size, I should really do this all the time. |
|
|
Now both bolts have been removed we can carefully pull the spring retainer clips over the brake fixing plate |
 |
|
Now lightly tap the centre of the brake calliper until the unit releases, NOTE hold the brake unit so it does not fall to the floor. |
 |
 |
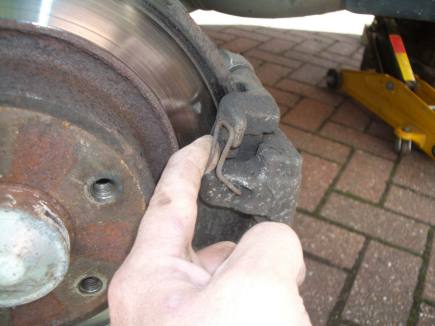
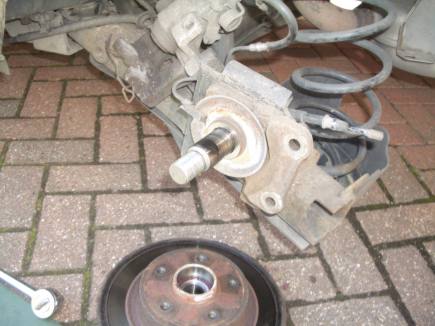
Once removed gently move it to one side to be worked on later, we now need to remove the Brake fixing plate.
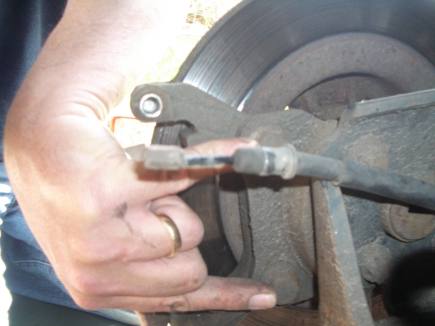
NOTE – the hydraulic flexi brake pipe is still connected, it is pretty robust but just take it easy. |
|
Now remove the two retaining bolts that hold in-place that brake fixing
plate.
|
 |
|
|
 |
|
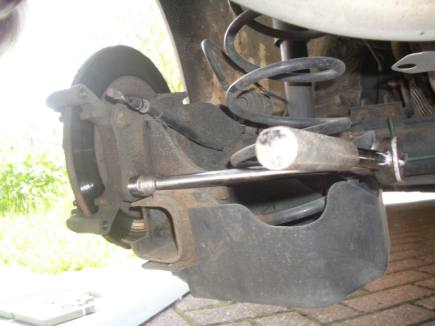
Removing the lower bolt using a long extension |
 |
|
Fixing plate removed. |
|
Now use a flat sharp ended screwdriver or and old chisel to remove the protective cover to reveal the disc retaining nut.
|
 |
|
|
|
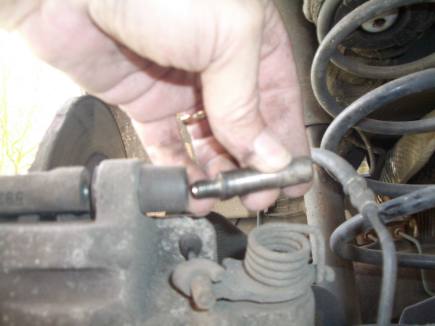
Now using that NEW 36mm socket you bought, you will easily be able to
remove the centre nut holding the disc to the axil.
|
 |
 |
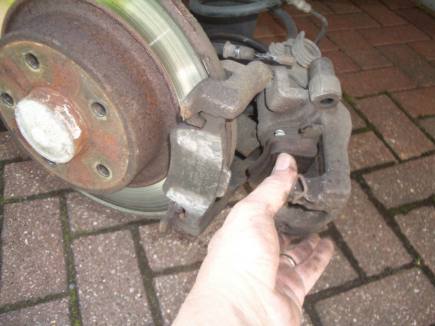
While you are there just check for any wear and tear on the shaft, if you do find something you should look at replacing it.
The bearings that are in the new disc have grease in them already so do not add any more just slide the new one on.
|
 |
|
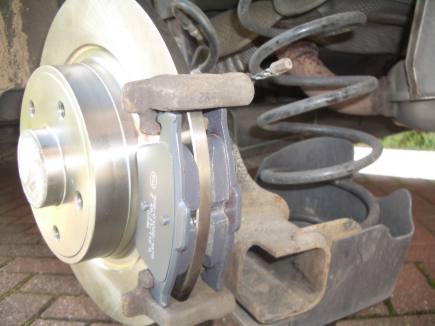
Now refit the Brake fixing plate, note the spring backed brake pad goes on the back on the disc |
 |
|
fitted as follows |
 |
|
|
|
Now comes the pretentious bit, on the near side brake unit I was able to wind the brake plunger back into the unit without disengaging the hydraulic fluid flexi pipe, but on the off side brake I just could not wind it back in without remove the unit all together meaning I had to bleed the unit once refitted (Easy job just a hassle, I will tell you how to do that later) |
 |
Make sure the plunger is wound all the way back in, if not you will never get the brake calliper to fit over the new pads and disk during reassembly.
Since I wrote this I have now bought a 'Caliper Brake Piston Tool' and would
recommend this as it make this whole job a lot easier.
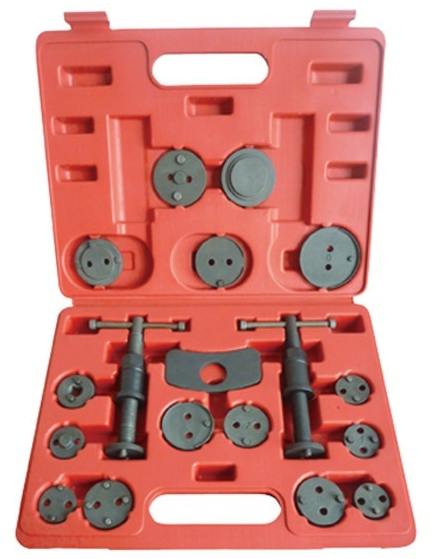
Ebay link to look at
CBPT
NOTE – take it easy here because there is a rubber boot around the plunger that you do not want to damage, if the boot starts to twist rotate the plunger back a bit and then wind it back in.
Tip:You could try using a tooth brush to clean the boot where it joins the outer edge of the plunger with a small amount of washing up liquid.
|
|
You may have to fit the back pad (the one with the spring clip) on to the plunger before refitting the calliper unit to the fixing plate. |
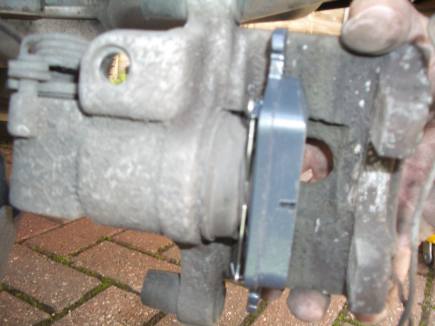 |
|
Refit the allenkey bolts starting with the bottom bolt first as it will then be easier pulling the calliper in-place to refit the top bolt. |
 |
Refit the handbrake cable/Dust caps and you’re done.
|
 |
 |
|
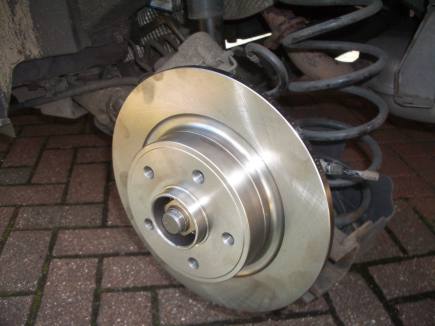
Nice shinny disc.
|
Bleeding the brakes if you removed the calliper unit. |
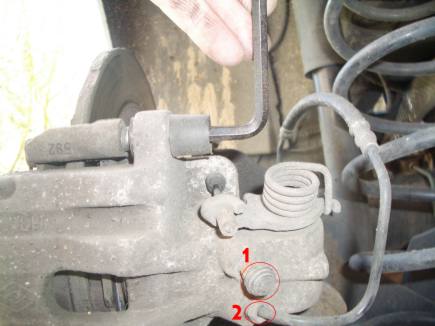 |
Remove the dust cap (1) to reveal the bleed nipple, you need to fit a short length of plastic pipe to this nipple and feeding down in to an old jam jar or something suitable, you don’t want brake fluid all over the place.
You will need the help of someone here to slowly press the brake pedal fully to the floor release and do the same again. Do not have the engine running.
While they are pressing the brake pedal release the bleed nipple and watch the fluid coming from the bleed pipe you do not want to see any bubbles in it, as soon as you see clear liquid lock off the bleed nipple.
Job Done.
|
|
NOTE – when all wheels are back on and the car is off the jack(s) check the brake fluid level in the engine bay, top up if needed. |
|
|
Now you have changed your discs and brakes take it easy for the first couple of hundred miles, think when behind traffic ‘only a fool breaks the two second rule unless they have new discs or pads then make it four’
One other thing, because you have been touching various oily parts and handled the new discs. You will note that after a couple of miles you will see a lot of smoke coming from your rear wheels, this is that oil burning off not your brakes catching fire.
It will soon burn off and all will be normal again.
|
|
|
|
Disclaimer
I am a 52 year old IT manager and not a
mechanic, this picture tutorial is my own account of how I changed
my rear discs and brake pads, This may not be the
best way to do it but it is how I did it.
If you follow my suggestions and loose a limb or fingers I cannot be held
responsible.
This page is for your information only and the author (me) cannot be held
liable for any damages however they may be caused.
|